Coloring tutorialfor Beginning Photoshop UsersRemember, I ama beginner myself ;) So don't take anything I put here as the'way' to do things, this is just how I've learned, by teachingmyself. I do get alot of requests on how to color like I do, but at the moment, I don't have the energy to do an in depth one, but I'll be doing some detailed ones for my personal homepage, when I get if off of the ground ;) Seeing that I like to work fast, this is also designed for Speed!Ready? Here we go...Step One: Preparing yourdrawing for coloring.First a few inking tips,until I can get to doing an in depth one on that and other subjects.How your colored version depends alot on how you ink. Non-PhotoBlue pencils are a great way to make nice sketches without toomany messy lines, but if your inking and scanning to put on thenet, I wouldn't recommend using them, because they don't disappearlike they do with a copying machine. And because they are harderto erase then a regular pencil. Yes. I said erase. I ink on topof my original sketch. Alot of people are afraid of messing theiroriginal up, and yes, that'll happen til you practice, so practiceon drawings you aren't proud of. Don't worry about keeping yourbase sketch.. Some people say the only thing animation comapany'sor schools want are the sketches. That's partially true, but theyalso don't want your original's. That's one huge misconception..NO one is gonna want your original drawings, and what happensif you send all of your originals and they get lost? Or the peoplethat are reviewing it decide to hold it for a while? Your stuckwithout a portfolio at all. So scan them before you ink. Thatway you can print out multiple copies of your picture for wheveryou want to go, with little hassle, and when you ink on top, you'llbe able to keep more of the spirit of the original drawing. Ifyou're computer coloring, line thickness can make a diference.I'd say, do the lines a little thicker then average if your coloringwith photoshop. Because the color does bleed into the ink, andmakes the lines seem thinner then they are at times.
Actual Inking? I preferdisposable Rapidiograph pens. An assortment of sizes...the areabout three dollars a pen...and while I know the tools don't makethe artist...think anyone who has ever used prismacolored colorpencils would ever go back to Crayola? You might be able to getthe same effect, with ALOT of time. As I said..I'll go into moredetail in this at a later time. Until that time, some good examplesof comic inking, along Erasing (Yes there IS a proper technique)with how to make your own comic strip can be found at Doin'a Daily Strip. I think you can guess how I found this ;)
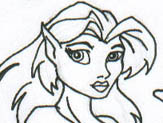 Herewe are, my inked drawing, fresh off my scanner. I took some carein cleaning it up. So very little pencil marks remain. Not tryingto press your pencil into the back of your sketchbook while drawinghelps too ;) After a while of sketching and inking you'l startmaking the 'final' like of your drawing just with the ink pen.This takes practice tho. You can click on the image to see thepic in full. As a note, this has been shrunk down alot, you shouldhave your pictures a little oversized to color them in. Transferthe picture from your scanner directly to photoshop, make sureit is a PSD file. They work best with color and shrink down toa smaller file size when you do save them as .jpg
Ā
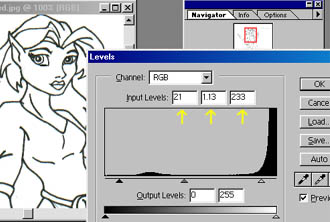 Thefirst think I do is go to The top taskbar to Image>Adjust>Levels Since I know my drawing and inking styles, I usually just skipdirectly to the number boxes shown by the Yellow Arrows. You cansee the humbers I put in 21, 1.13, 233. These clean up that drawingwith out giving it ragged edges. Alternatively, you an mess aroundwith the little arrows on the bottm, and once you learn your style,you can find what works best with it, and memorize your numbers;)
 Usually,I like to go to the Image>Adjust>Brightness/Contrast next.And inch it up to about 11. Be careful to not adjust TOO much,or else it'll get blocky with rough edges. But now out pictureis ready to color! This may seem like a lot of work right now,but speed comes with practice, I can get an inked drawing readyfor coloring in under a minute now.
Proceed to Step Two
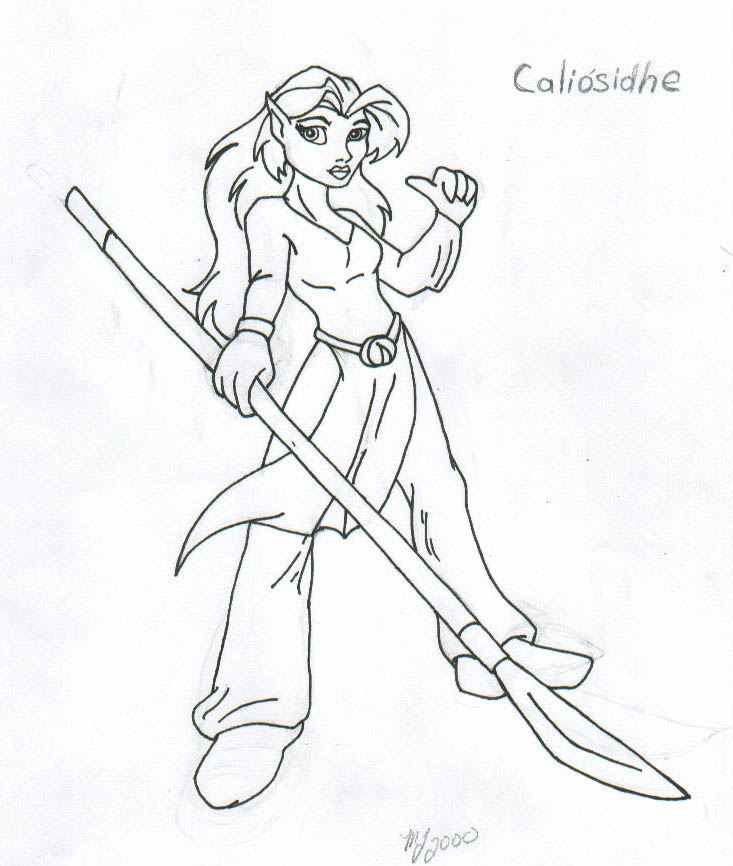 Herewe are, my inked drawing, fresh off my scanner. I took some carein cleaning it up. So very little pencil marks remain. Not tryingto press your pencil into the back of your sketchbook while drawinghelps too ;) After a while of sketching and inking you'l startmaking the 'final' like of your drawing just with the ink pen.This takes practice tho. You can click on the image to see thepic in full. As a note, this has been shrunk down alot, you shouldhave your pictures a little oversized to color them in. Transferthe picture from your scanner directly to photoshop, make sureit is a PSD file. They work best with color and shrink down toa smaller file size when you do save them as .jpg